Published
Mounting a Staghorn Fern Step by Step: Shaping, Tying, Five Common Mistakes
With tools and medium ready, here is the hands-on part: shaping the seedling before you mount it, rounding a moss ball with the bowl method, the two wraps that actually hold a mount together, and the five mistakes that sink most first attempts.
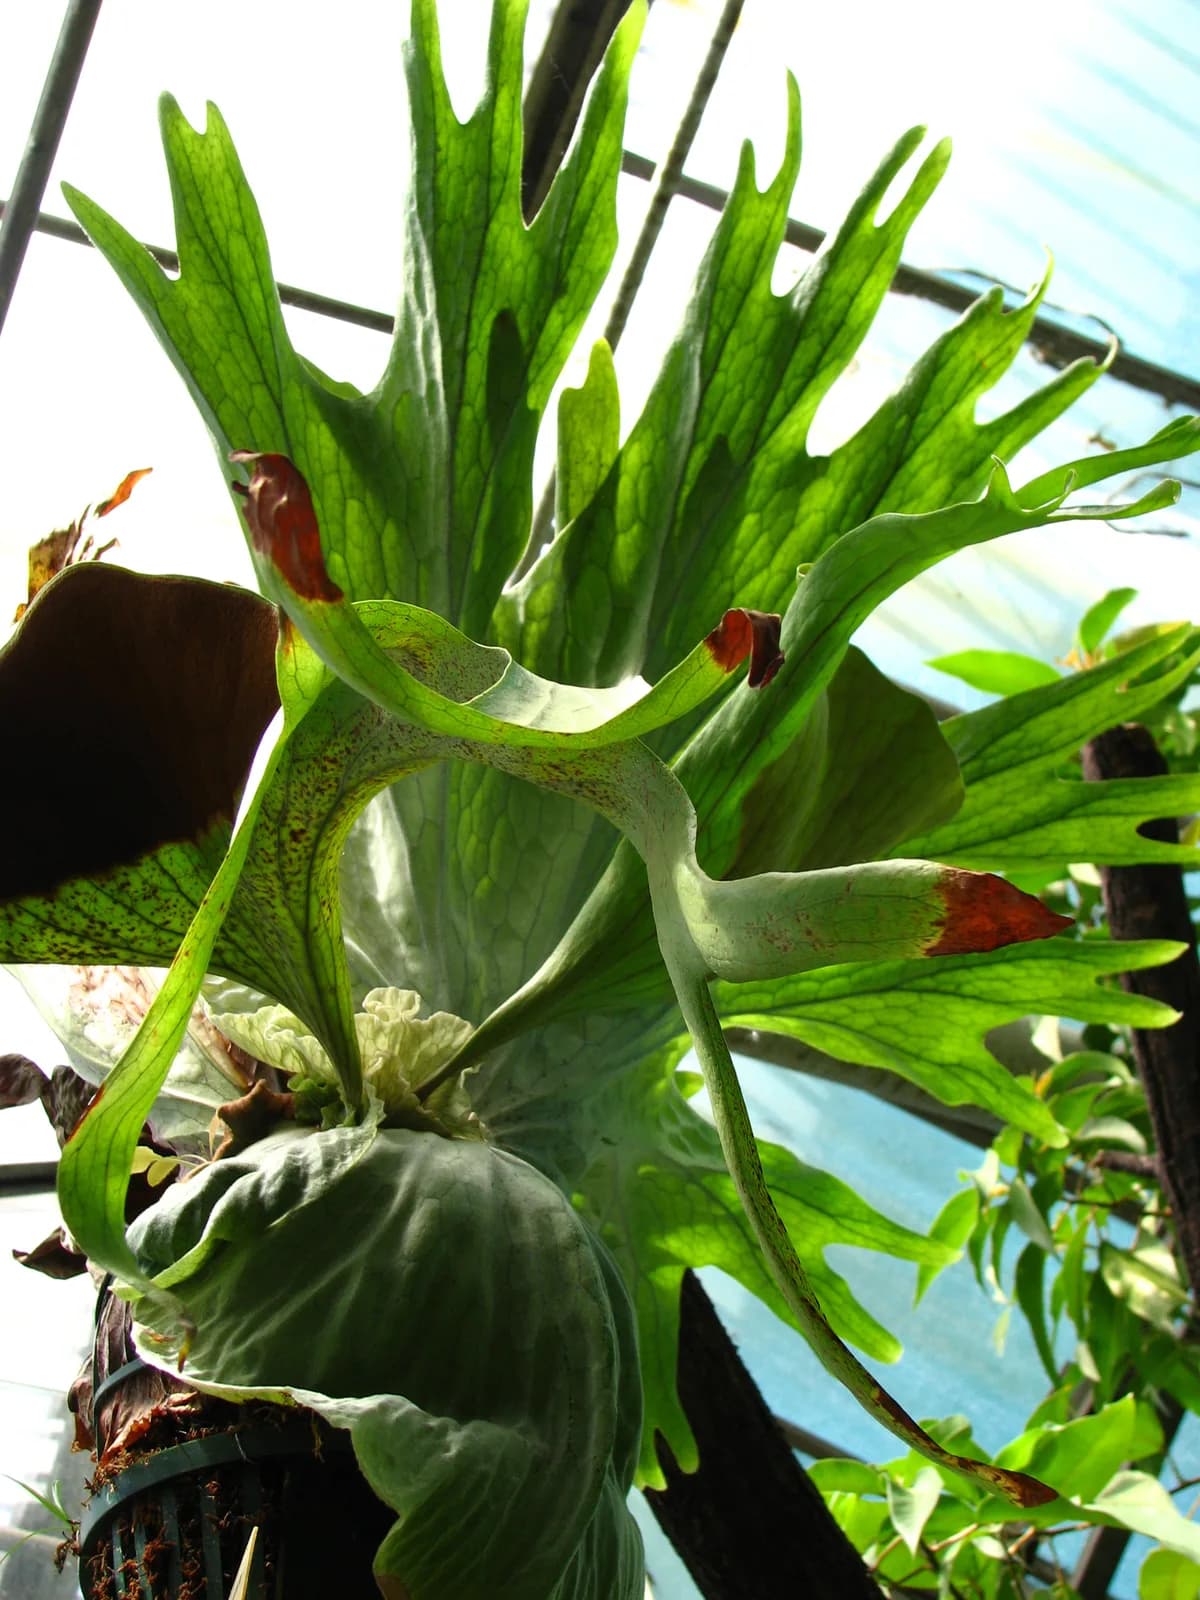
With the prep work done, what is left is hands-on: shaping the seedling before you mount it, rounding the moss ball, tying it down, and the five mistakes that sink most first attempts. Prep is covered in Before You Mount a Staghorn Fern.
Pick the seedling, then shape it, before you mount
Do not judge a seedling by its fronds alone. Look at the growing point first: it should be full, bright green, with the white fuzz intact. A bud that has gone black and sunken is usually beyond saving, so pass on it. Potted plants often have shields pushed out of shape by the container, so before mounting, true them up around the growing point into a solid oval: trim any shield that sits higher than that line, and pack a little extra moss under any that sits lower, just enough to level it without covering the leaf surface.
Shaping the moss ball: the bowl method
The hardest part of a first mount usually is not tying the line, it is getting the moss ball round instead of lopsided and flat. The fix is simple: take a small pot close to the plant's original pot size, set it in the centre of a large mixing bowl, pack squeezed sphagnum around it, press firm, then flip the whole thing onto the board and lift the pot away. What is left is a hollow, evenly round moss ball. Tuck a little bark or leaf litter into the hollow so the centre of the root mass does not stay soggy and invite rot. Set the plant in with the growing point facing the opening, pack more moss around it, and press the outside into a clean sphere. This method is faster than shaping by hand and keeps the result symmetrical. A kitchen sieve works just as well as a dedicated mould. The hollow at the centre is left for the fine roots that grow from the back of the shield frond; there's no need to pack it solid.
Tying: you are fixing the medium, not the plant
Fishing line, cotton string or a strip of non-woven fabric, wrapped around the moss ball and pulled until the ball does not shift under a firm push. What actually decides whether the ball holds is the first two wraps: one just above the growing point, pressed snug against the moss, and one just below it. Once those two have set the centre of gravity, the rest of the wraps are just filling in. Use your free hand to support the moss ball while you wrap it, so it doesn't get squeezed out of shape. If you anchor with screws, use stainless steel; a rusting screw damages the shield pressed against it. Drive each screw in at a forty-five degree angle, only halfway, so the exposed head can hook the line. Position each screw on the outer edge line of the moss ball, so the wraps bite into the whole sphere rather than just cinching the centre. Start with an adjustable slip knot looped over the lower screw, so you can draw it tighter as you go. Space the wraps about a finger-width apart, keep the tension even with a little give rather than crushing tight, since an over-tight wrap makes watering hard later. Keep the line off the growing point and any emerging frond; the shields will cover the line within a season. Keep it especially clear of the newest frond unfurling at the top of the ball. The lower half of the ball is the opposite problem — it's where moss sheds first, so wrap it denser and tighter than the top. Once the whole moss ball holds firm under a push, finish off: loop the line once around the screw and pull tight, wrap three more times, then loop it over once more and leave the tail long so it cannot work loose. Staples and nails work too, as long as they enter the moss well away from the bud. Fix the cultivar tag with a screw no longer than the board is thick, so its provenance and lineage travel with the plant.
The five mistakes that sink a new mount
Five things go wrong most often on a first mount. Solid timber is tight-grained, so soak it before drilling drainage holes; tree-fern board is porous enough to skip this. Packing the moss too dense smothers roots the same way, so mix in coconut coir or small bark chunks for air, and a light scattering of slow-release fertiliser at the base doesn't hurt. Tension isn't finished once you tie off: the plant keeps growing, its weight pulls the wraps down over time, so give every loop real pressure and push the whole ball once you're done. Full sun and total shade are both wrong; it wants bright, filtered light. And don't reach for the watering can every day once it's mounted, err dry, not wet.
Aftercare for the weeks that follow is covered in After Mounting.
FAQ
How do I keep the moss ball from coming out lopsided?
Use the bowl method: set a small pot in the centre of a large bowl, pack squeezed sphagnum around it, flip the whole thing onto the board and lift the pot away. The result is a hollow, evenly round ball, faster and more symmetrical than shaping by hand.
Where do most first mounts go wrong?
Five common mistakes: skipping drainage holes in solid timber, packing the moss too dense, tying off without checking tension again, full sun or total shade, and watering every day. Avoid these five and most mounts settle in fine.